In a previous blog post, we discussed the 7 reasons why self-published authors need a website. Some of the reasons were that an author can use a website to build their online presence, and increase book sales, and it is a place where readers can find more information about you.
Now that you know why it is important to have an author website, we will now discuss the key steps involved in creating one. Here’s a general guide to help you get started:
1. Define Your Goals
Determine the purpose of your website. Are you aiming to promote your books, engage with readers, sell merchandise, or showcase your writing portfolio? Clarifying your goals will shape the structure and content of your website.
2. Choose a Domain Name
Select a memorable and relevant domain name that reflects your author brand. Ideally, it should be easy to spell and closely tied to your name or writing niche. For example, I used the domain name ChristineJohnBooks.com as I am the author. Register the domain through a reliable provider. You can use Domain.com to register your domain name.
3. Setup Web Hosting
A web host is an organization that provides the technologies and services required for your website to be viewed on the Internet. There are thousands of web hosts to choose from, but the best ones are Blue Host, Just Host, 123Reg, Hostinger, Dream Host, and Host Papa. You can also simply use one of these sites to register a domain name and set up web hosting.
4. Select a Website Platform
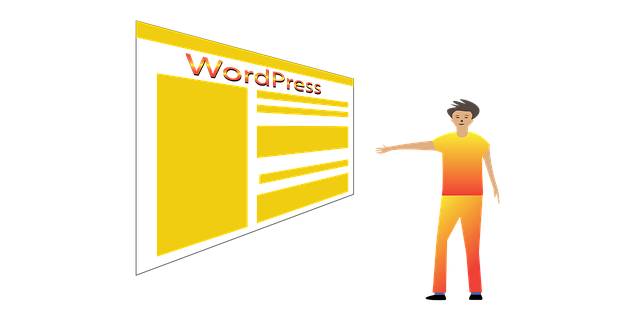
Consider using a user-friendly content management system (CMS) or website builder to simplify the website creation process. Popular options include WordPress, Wix, Squarespace, or Weebly. WordPress, in my humble opinion, is the best. Since I have experience using WordPress to build my own website, I will be using it as an example throughout this post. Your web host provider should have WordPress and should make it easy to install to build your website.
5. Choose a Theme
There are hundreds of themes and templates you can choose from to customize your website. You can use either a free theme or a premium theme. Free WordPress themes can be found on WordPress.org.
However, with free themes, they limit how much you can change to the design and layout, and they do not offer any support if you have questions or if you make a mistake with the theme.
Premium WordPress themes, on the other hand, allow you to be more creative with the design and layout of your site and it offers technical support if you need it, and a customer forum to communicate with other WordPress users.
6. Add Content to Your Site
Every author’s website should have the following basic pages on their website: Home page, About, Books, Blog, and Contact page. You could also include a Resources page and News/Events page. Here are a few examples of what information could be included on each page.
On the Home page, you can feature your most recently published book, a brief description of what the book is about, and the Buy Now or Read More buttons. You could also include a slideshow showcasing your other books and an About the Author section with a link to read more about the author.
The About page is where you will provide information about yourself. You can get creative with this page. You could include a picture of yourself and write a longer description highlighting your achievements, qualifications, and experience relating to your book. You could also include a photo gallery or a short video. And don’t forget to add social media share buttons so that people can share your content on social media.
The Contact page is where your readers can get in contact with you by filling in an online form. You could also include your contact details such as an office phone number and address.
The Books page is where you will showcase your books. You can also create a link for people to buy directly from your website or the link can direct them to an online seller where they can purchase your book.
Your Blog is where you will write blog posts if you decide to have a blog. Each blog post should have your name as the post author and links to social media so that your readers can share your content. Your blog post should also have a comment box where people can share their views.
The blog posts you write can be on anything you and your readers are interested in. The posts could contain content that relates to your new book or topics that you feel passionate about.
If your website contains a sidebar, you can fill it with an email subscription box, popular posts, categories, and a cover photo of your book.
On the Resources page, you can share videos, writing tips, online courses, or free eBooks. You can include whatever you want on the Resources page as it applies to what you want on your author platform.
The News/Events page could include upcoming releases of your new books, dates of book signings, or any upcoming special events for authors such as the London Author Fair, poetry readings, or writing workshops.
7. Setup an Email List
The goal of every author should be to grow their email list. This may seem like a daunting task if you have never made an email list before, but there are a few simple things you can do to get started.
First, sign up with an email marketing provider that can help you to get started with your email marketing campaign. Aweber, Mailchimp, and Get Response are some examples of email marketing platforms that you can sign up with to set up your email marketing campaign.
Once you have chosen your email marketing platform, the next step is to create a subscription box and place it on your website, either on the sidebar or on your blog pages to encourage your readers to subscribe to your email list to get the latest news and updates about you and your books.
To attract readers to subscribe to your email list, you can offer a free gift such as a free video, software, the first chapter of your new book, or a free report. Readers will be able to download their free gift when they subscribe to your website.
8. Customize Your Site with Plugins
If you are using WordPress to create your author website, then you will find hundreds of plugins that you can use to customize your site. You can find plugins in the WordPress Plugin Directory at WordPress.org. Here are some of the plugins that you should install on your website:
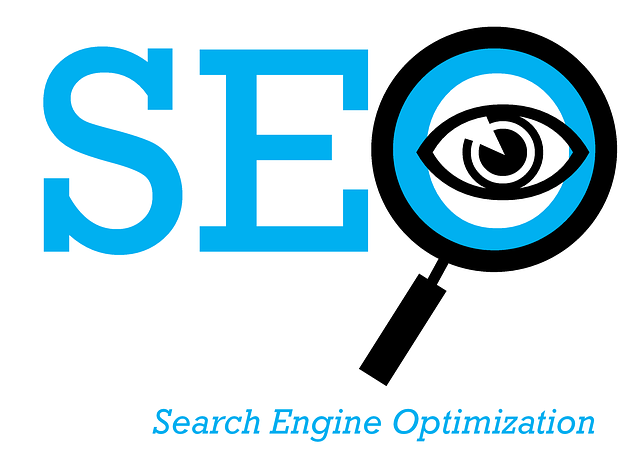
All in One SEO – SEO stands for Search Engine Optimization. This is a great plugin that helps your site to be found on popular search engines such as Google and Bing.
Slideshow Gallery LITE – this tool allows you to display multiple galleries throughout your WordPress site featuring your latest blog posts, books, or photos.
GA Google Analytics – Connect Google Analytics to WordPress – this plugin allows you to integrate Google Analytics onto your website easily. Use Google Analytics to track and measure the number of visitors and how they use your website.
Social Media Share Buttons & Social Sharing Icons – This is a great plugin that you can use to place social media buttons on different areas of your website which allows users to share your content on sites like Facebook, Twitter, and LinkedIn.

Having an author website is a very important step in establishing your online presence and selling a lot of books. It is the first place that people will visit to find out more information about you and your books. Your website doesn’t have to be flashy or be the most beautifully designed website. It can be a site with a simple design that contains relevant information that your site visitors can easily access.
Remember, these steps provide a general framework, and you can customize them based on your specific needs and preferences. Building an author website is an ongoing process, so regularly update and refresh your content to keep it relevant and engaging.
RECOMMENDED READING